Cutting through the jargon: how to build an agent that actually works in production? This is the complete practical guide — the engineering reality behind the hype.
How to Build Agent
Write the job description: what triggers the agent, what inputs it gets, what outputs it produces, what success looks like (measurable), and what’s out of scope. If you can’t write this clearly, you’re not ready to build. Most failed agents were never defined — they were wished into existence.
Step 1: Choose your stack
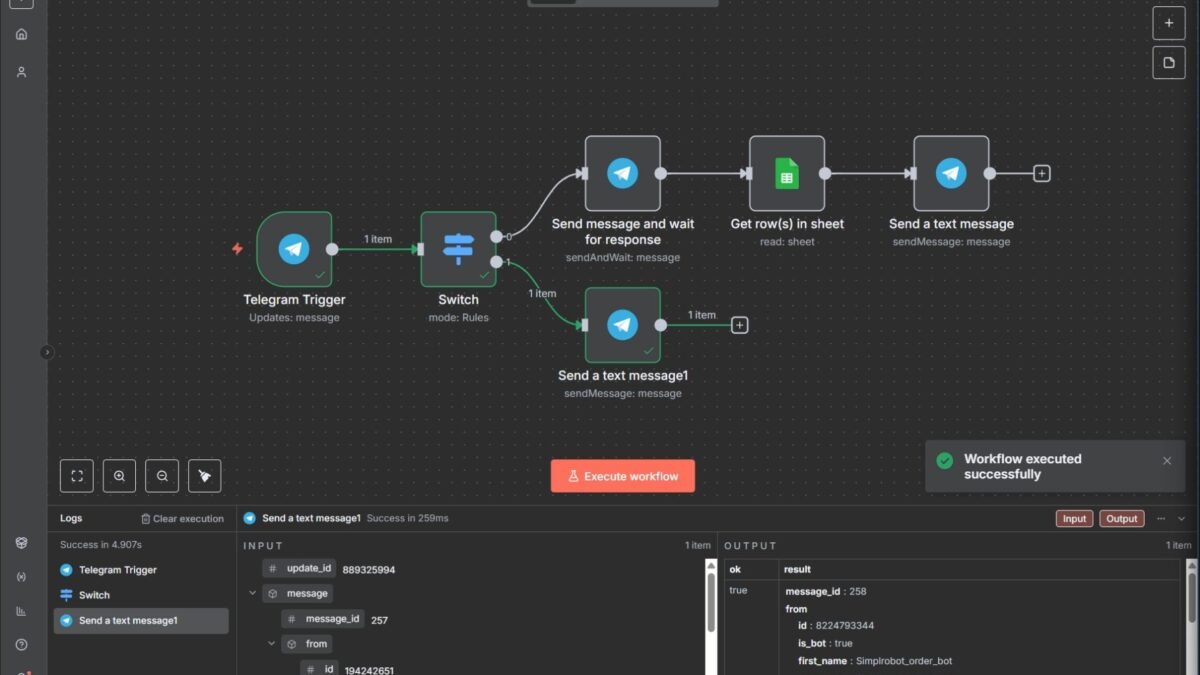
- No-code: n8n (self-hosted, powerful), Zapier Agents (fastest), Lindy/Relevance AI (conversational building). Best for standard workflows.
- Frameworks: LangChain/LangGraph (most mature), CrewAI (multi-agent teams), AutoGen (conversational agents). Best for custom logic.
- Direct API: build the loop yourself with OpenAI/Anthropic APIs. Maximum control, maximum work. Only when frameworks constrain you.
Step 2: Design the architecture
- The brain: choose your model — frontier for planning/complexity, smaller for sub-tasks (tier your models).
- The tools: define the minimal tool set. Each tool needs: clear name, description of when to use it, defined inputs/outputs. Fewer, better tools beat many vague ones.
- The memory: conversation memory for sessions; persistent store for cross-session facts. Start simple.
- The loop: plan → act → observe → adjust. Add: max iterations (prevent infinite loops), checkpoint verification, and error recovery paths.
- The guardrails: scoped tool permissions, approval tiers, input/output filtering. Build these during construction, not after.
Step 3: Write the instructions
The system prompt is your most important artifact: role, goal, step-by-step process, examples of correct behavior, explicit boundaries and escalation rules, output format. Iterate on instructions with real test cases — this is programming in natural language, and it deserves engineering rigor.
Step 4: Test ruthlessly
- Unit-test tools independently first.
- Happy-path tests: 10–20 typical scenarios, all passing.
- Edge cases: ambiguous inputs, missing data, conflicting instructions.
- Adversarial tests: prompt injection attempts, jailbreaks, resource exhaustion.
- Long-run tests: does quality degrade over extended sessions?
Step 5: Deploy supervised, then scale
Shadow mode → limited rollout with human review → gradual autonomy expansion. Monitor everything (see monitoring agents in production). Set success gates for each phase. Production is the beginning of maintenance, not the end of building.
Choosing between agent approaches
Three architectural philosophies dominate — pick deliberately. Single-agent: one agent with many tools. Simplest to build and debug; struggles with very complex tasks (context limits, confused priorities). Best for: focused workflows with clear scope. Multi-agent teams: specialized agents collaborating (researcher + writer + reviewer). Handles complexity well; coordination overhead and debugging difficulty are real. Best for: complex projects with natural sub-task divisions. Agentic workflows: deterministic workflow with AI steps at decision points (LangGraph style). Most reliable; least flexible. Best for: production systems where predictability matters.
My recommendation: start with single-agent; move to agentic workflows when reliability demands it; use multi-agent teams only when the problem genuinely decomposes into specialist roles. Complexity is a cost — pay it only when the problem requires it. Most production agents that work well are embarrassingly simple architecturally.
Learning resources by approach
Go deeper on your chosen path: single-agent: Anthropic’s building-effective-agents guide (the practical bible). Multi-agent: CrewAI documentation and the AutoGen papers. Agentic workflows: LangGraph tutorials and documentation. And the LangGraph docs are excellent for the workflow approach specifically. But honestly? Build first, read second — the concepts click 10x faster with a broken agent to fix.
Build your first production agent: 30-day plan
Week 1: define the job precisely (trigger, inputs, outputs, success criteria, scope boundaries); choose your stack. Week 2: build — architecture, tools, instructions, guardrails; test tools independently. Week 3: test ruthlessly — happy paths, edge cases, adversarial inputs, long runs; fix and regression-test. Week 4: deploy supervised — shadow mode, limited rollout, monitoring, success gates.
What you’ll have: a production agent built properly — defined, tested, monitored, guarded. More importantly, you’ll have the process: the engineering discipline that makes the second agent 3x faster to build. Most people never build one production agent; you’ll have built one in 30 days and learned the craft that compounds. The plan is simple; the execution is the education.
The agent you’ll actually finish
A final encouragement: scope your first production agent embarrassingly small. Not “automate customer support” — “triage incoming support emails into 4 categories.” Not “research assistant” — “summarize these 5 industry newsletters every Monday.” Small scopes finish; grand visions stall. And finished small agents teach you everything needed for bigger ones — the patterns transfer completely. Every impressive multi-agent system you admire started as someone’s tiny weekend project that worked. Yours can too. Pick the smallest useful thing, build it properly, ship it supervised. Then build the next one.
Practical takeaway
- Define the job precisely before building anything.
- Stack: no-code for standard, frameworks for custom, direct API for control.
- Architecture: brain + minimal tools + memory + loop limits + guardrails.
- Instructions are code — engineer them with tests.
- Deploy supervised; scale autonomy on proven reliability.
Keep exploring
If you found this useful, these related guides go deeper: