Studio Photos Without the Studio
Professional product photography used to cost $50–200 per product — photographer, studio, lighting, editing. For a store with 200 SKUs, that’s a five-figure line item. Learning how to create AI product photos for your store collapses that cost to nearly zero: shoot a quick phone photo, and AI generates the studio lighting, the lifestyle scene, the perfect background.
I’ve produced product imagery both ways, and here’s my honest assessment: AI product photos are now good enough for most ecommerce — especially for small stores — but they have specific failure points (hands holding products, reflective surfaces, tiny text) you need to know. This guide covers the tools and the workflow that gets professional results.
The Best AI Product Photo Tools
- Photoroom — the ecommerce standard. Background removal, AI backgrounds and scenes, batch processing, built for sellers. Our Photoroom review tests it on real products.
- General AI image editors — several can place your product in generated scenes from a reference photo; quality varies, so test with your actual products.
- Background tools — for quick cutouts before scene generation, see our best AI background removers.
How to Create AI Product Photos: The Workflow
Step 1: Shoot a Clean Source Photo
AI can’t fix a terrible source image — but “clean” doesn’t mean professional. You need: the product centered on a plain background (white poster board works), even lighting (near a big window, no harsh shadows), the product’s true colors (no filters, ever), and sharp focus at the highest resolution your phone offers. Shoot straight-on plus one 45° angle. Ten minutes per product, tops. Here’s what actually works: consistency in source photos produces consistency in AI outputs — same distance, same lighting, every product.
Step 2: Remove the Background
Run the source through background removal first — a clean cutout gives the AI scene generator a perfect product to work with. Check the edges at full zoom: wispy edges on fabric, glass transparency, and fine details (chains, bristles) are where auto-removal struggles. Fix problem edges manually before generating scenes; a bad cutout poisons every image downstream.
Step 3: Generate Scenes That Sell
This is where it gets fun. Prompt by product category:
- Skincare/cosmetics: “marble bathroom counter, soft morning light, eucalyptus sprig, water droplets, luxury spa aesthetic”
- Food/beverage: “rustic wooden table, linen napkin, natural window light, ingredients scattered artfully”
- Apparel: “minimalist studio, soft gradient background, ghost-mannequin style floating presentation”
- Tech: “sleek dark desk setup, neon accent light, modern workspace, premium feel”
- Home goods: “bright Scandinavian living room, plant in background, cozy daylight”
Generate 4–6 scene options per product and pick the strongest. Keep a consistent visual style across your catalog — mixed aesthetics (one product in a jungle, the next on marble) make a store look disjointed. For how AI is reshaping the buying experience broadly, see AI shopping assistants.
Step 4: Check the Details Ruthlessly
AI product images fail in specific ways — inspect for all of them: labels and text (AI mangles small text on packaging — if your label matters, composite the real label back on), reflections (glass/metal products get physically impossible reflections), proportions (the product subtly resized or reshaped — compare against the source), color accuracy (the #1 cause of returns — verify the AI didn’t “improve” your colors), and shadows (floating products with wrong shadow direction look instantly fake).
Step 5: Build the Full Image Set
One hero image isn’t enough. Per product, generate: hero shot (lifestyle scene), clean white-background shot (for marketplaces like Amazon that require it), detail close-up (texture, quality cues), scale shot (product in context showing size), and packaging/lifestyle variation. Five images per product is the standard that converts — and with AI, the marginal cost of images 2–5 is minutes, not dollars.
What AI Product Photos Can’t Do (Yet)
- Hands interacting with products — still the uncanny valley; use real photography for “in use” shots with people.
- Tiny text and labels — supplement facts and ingredient labels need compositing from real photos.
- Perfect color fidelity — always verify against the physical product; color shifts cause returns.
- Highly reflective or transparent products — jewelry, glassware, chrome need extra care and often manual touch-up.
Cost Comparison: Real Numbers
| Approach | Cost per product | Turnaround | Quality ceiling |
|---|---|---|---|
| Pro photographer | $50–200 | 1–3 weeks | Highest |
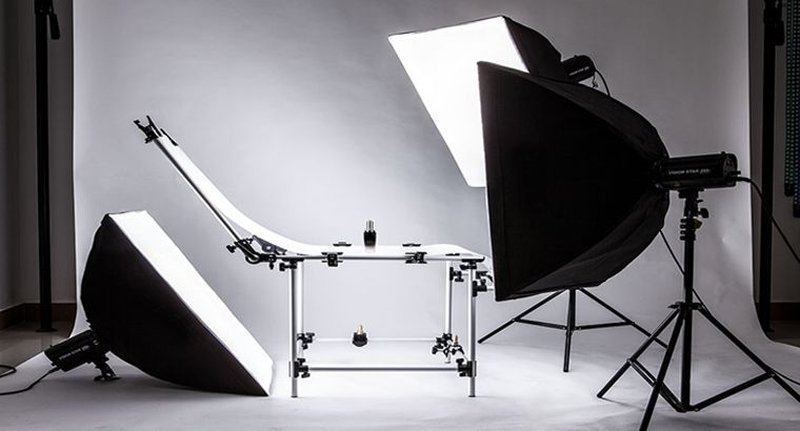
| DIY lightbox | $30–100 setup | Hours | Good, plain backgrounds |
| AI generation | $0.10–2 | Minutes | Excellent for most ecommerce |
For most small stores, the math is overwhelming: AI for the catalog, pro photography for hero brand imagery and anything with people.
Sample Shot List: From Phone Photo to Full Catalog
Here’s the exact image set I produce per product, in order:
- Source shots (phone, 10 min): straight-on and 45° angle on white poster board, natural window light. These are raw material, not deliverables.
- Hero lifestyle image: AI scene matching your brand aesthetic. This is the thumbnail — it has one job: stop the scroll.
- Clean white background: required for Amazon/Google Shopping main images. Generate from the cutout, pure white (#FFFFFF), product centered at 85% frame.
- Detail close-up: texture, stitching, material quality — the “proof of quality” shot. AI-zoom the best crop of your source photo.
- Scale reference: product next to a common object (hand, coin, laptop) or in a room scene. Kills the #1 post-purchase complaint: “smaller than expected.”
- Packaging/unboxing: the box, the tissue, the thank-you card — sells the giftability and premium feel.
Batch the workflow: shoot all source photos Monday, generate all heroes Tuesday, detail shots Wednesday. A 50-product catalog goes from phone photos to a complete image library in under a week — work that used to take a photographer a month and cost more than the inventory. And because regenerating is cheap, don’t settle: if a hero image is 80% right, regenerate with a tweaked prompt rather than accepting mediocrity on your most-viewed asset.
Frequently Asked Questions
Do AI product photos convert as well as real photography?
For standard ecommerce, yes — when done well. What converts is clarity, good lighting, accurate colors, and multiple angles; customers don’t care how the image was made. Where real photography still wins: products with people, luxury goods where craft details matter, and anything where texture is the selling point.
What’s the best AI tool for product photos?
Photoroom is the most purpose-built for sellers — background removal, AI scenes, and batch processing in one workflow. Test it against general AI image tools with your actual products; the right choice depends on your catalog.
How do I keep colors accurate?
Shoot the source photo in natural light with no filters, verify every AI output against the physical product on a calibrated screen, and when in doubt, desaturate slightly — AI tends to oversaturate. Wrong colors are the top driver of image-related returns.
Can I use AI product photos on Amazon?
Yes, provided they meet Amazon’s image requirements (white background for main images, accurate representation). Amazon prohibits misleading imagery regardless of how it’s made — your AI photos must show the actual product accurately.
Should I disclose that my product photos are AI-generated?
There’s no general legal requirement, but accuracy is non-negotiable: the photo must represent the actual product. Some marketplaces and ad platforms are adding synthetic-media disclosure rules, so check current policies where you sell. When in doubt, honest product representation matters far more than the production method.
The Bottom Line
Knowing how to create AI product photos for your store means: clean source shots, background removal, scene generation in a consistent style, ruthless detail checks, and a full 5-image set per product. Minutes per product instead of weeks, dollars instead of thousands — with quality that converts. Just keep the colors honest and the labels real.