
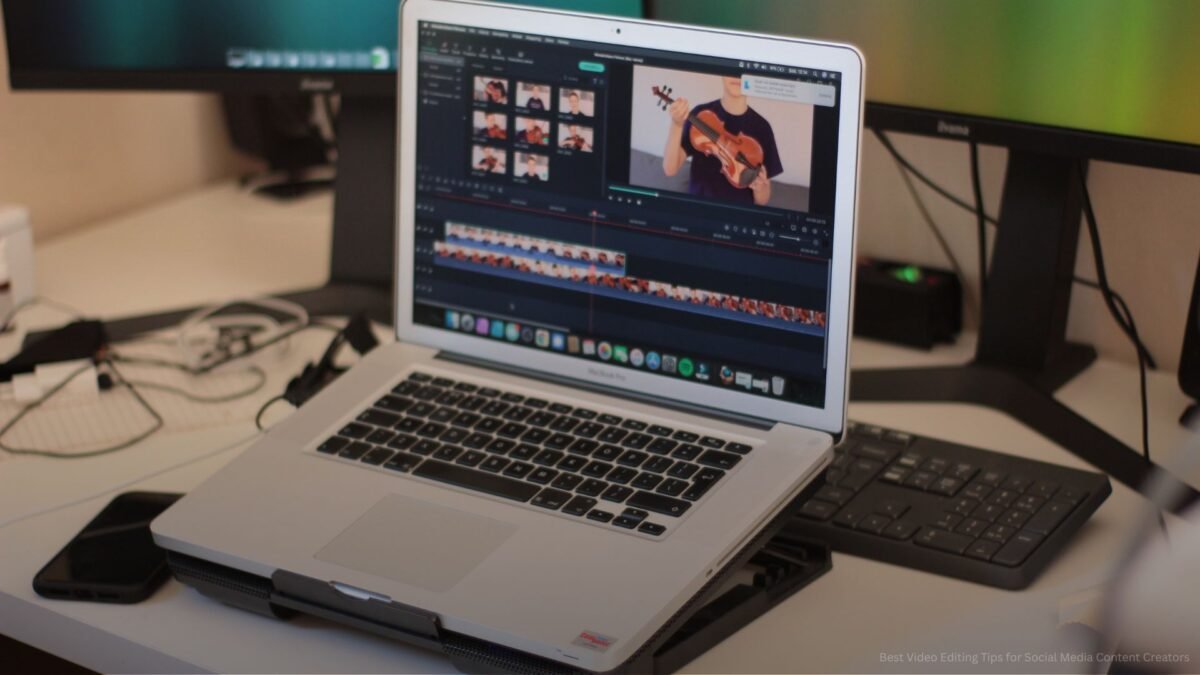
Learning how to turn blog posts into videos with AI is one of the fastest ways to multiply your content’s reach. You’ve already done the hard work — the research, the writing, the ideas. Turning that post into a YouTube video, a TikTok, or a LinkedIn clip used to mean hours of filming and editing. Now AI handles the heavy lifting, and the whole conversion can take under an hour. Here’s the workflow.
Why Repurpose Blog Posts Into Video?
Different audiences live on different platforms. Your 2,000-word guide might get 500 readers on your blog — the same content as a video could reach 50,000 people who never read blogs. Video also earns differently: YouTube ad revenue, TikTok creator rewards, and the algorithmic discovery that text rarely gets. It’s the same ideas working twice as hard. Our guide to repurposing videos with AI covers the reverse direction once your video library grows.
How to Turn Blog Posts Into Videos With AI: The Workflow
Step 1: Pick the right posts
Not every post deserves the video treatment. The best candidates are listicles (“7 ways to…”), how-tos with clear steps, and opinion pieces with a strong hook. Anything heavily dependent on code blocks or dense tables will be painful to adapt — save those for the blog. Start with your top 5 posts by traffic; they’ve already proven the topic resonates.
Step 2: Condense into a script
A 1,500-word blog post becomes a 3–5 minute video script — roughly 450–750 spoken words. Ask AI to adapt it: “Turn this blog post into a conversational video script. Keep the key points, cut the fluff, add a hook for the first 10 seconds, and end with a call to action.” Then read it aloud and fix anything that sounds written rather than spoken. Written and spoken language are different muscles; AI’s first draft usually needs this pass. For more on scriptwriting specifically, see whether AI can write engaging video scripts.
Step 3: Choose your video format
- Faceless slideshow/kinetic text: fastest. AI generates visuals, captions, and voiceover from your script. Great for listicles and explainers. Our guide to starting a faceless YouTube channel with AI goes deep on this format.
- AI avatar presenter: an AI-generated presenter “reads” your script. More personal than slideshows, slightly uncanny — works well for educational content.
- You on camera + AI editing: film yourself (even on a phone), then let AI handle captions, cuts, b-roll suggestions, and pacing. Highest authenticity, still much faster than manual editing.
Step 4: Voiceover and visuals
For voiceover, you can record yourself or use AI narration — modern AI voices are good enough that most viewers won’t notice, especially for informational content. For visuals, AI can generate b-roll, diagrams, and thumbnails matched to your script. Keep a consistent visual style across videos so your channel looks intentional, not random.
Step 5: Platform-specific cuts
Don’t just upload the same video everywhere. Cut a 60-second vertical version for TikTok/Reels/Shorts with the single most surprising point from the post. AI editing tools can auto-detect the most engaging moments — use that as a starting point, then refine. One blog post can realistically become one long video plus three to five shorts.
Quality Control: Don’t Ship Slop
- Watch the whole thing once. AI-generated videos have a way of including one subtly wrong visual or mispronounced word. A single viewing catches 95% of issues.
- Check facts against the original post. Condensing sometimes distorts meaning. Make sure the video says what the post says.
- Disclose AI use where required. YouTube requires disclosure of realistic AI-generated content. Our guide on disclosing AI videos properly covers exactly what’s needed.
What About Cost and Effort?
Be realistic about the investment. The AI tools for script adaptation and voiceover are mostly affordable — many have usable free tiers. The real cost is your time learning the workflow: expect the first conversion to take 2–3 hours as you figure out the tools, dropping to under an hour by the fifth one. That’s still dramatically cheaper than traditional video production, where a single video could eat a full day.
One more consideration: start with the platforms where your audience already is. If your blog readers are on LinkedIn, make LinkedIn-native clips first. If you’re chasing discovery, prioritize YouTube and Shorts. Spreading thin across six platforms with one video each beats no one; dominating one platform with consistent repurposed content actually moves the needle.
For more background, see YouTube’s official site.
The Takeaway
Your blog archive is a video goldmine waiting to be tapped. Pick proven posts, condense them into spoken scripts, choose a format that fits your style, and let AI handle production. An hour per post gets you onto platforms your text never reached — and every video points back to the blog, compounding the value. Start with one post this week and see how it performs before building the full pipeline.



1 Comment