If you run Stable Diffusion locally and your “photorealistic portrait” comes out looking like a wax figure, the problem usually isn’t your prompt — it’s your checkpoint. The base models are generalists; the magic is in the fine-tuned checkpoints the community has trained specifically for realism. So what is the best checkpoint model for realistic photos in 2026? Let me give you the practical answer: there isn’t one eternal winner, but there is a reliable method for picking the right one — and a clear picture of what “good” looks like.
What is the best checkpoint model for realistic photos?
What a checkpoint actually is
Quick primer for the uninitiated: Stable Diffusion is the open image-generation engine. A “checkpoint” is a specific trained version of it — the base model plus fine-tuning on particular data. Think of the base model as a chef trained in every cuisine, and a photorealism checkpoint as that chef after a year staging at a portrait studio. Same engine, specialized taste. You download checkpoints (multi-GB files) from community hubs like Hugging Face and Civitai, load them in your UI (Automatic1111, ComfyUI, Forge, or the newer streamlined apps), and generate. Switching checkpoints takes seconds; it’s the closest thing to changing the “photographer” behind your AI camera.
What separates good photorealism checkpoints from bad ones
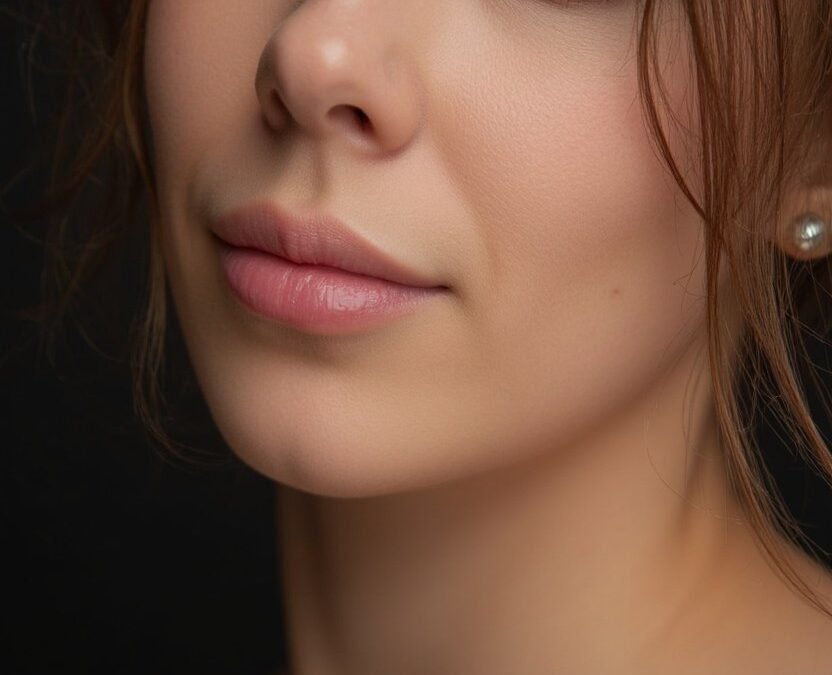
- Skin texture: The uncanny valley lives in skin. Bad checkpoints produce plastic-smooth faces; good ones render pores, subtle asymmetry, faint blemishes, and realistic subsurface scattering — the way light penetrates and glows through skin. This is the number one quality differentiator. Judge every candidate checkpoint on extreme close-ups before anything else.
- Hands and anatomy: Still the classic failure point, though 2026’s best checkpoints are dramatically better than the six-fingered nightmares of a few years ago. Test any candidate with hands prominently in frame before committing — it’s the fastest quality filter there is.
- Lighting coherence: Great checkpoints handle complex lighting — window light with soft falloff, neon with color spill, golden hour with believable warmth — with consistent shadows rather than flat studio lighting on everything. Bad ones light every scene like a passport photo booth.
- Detail at distance: Backgrounds, fabric textures, environmental detail. Cheap checkpoints nail the face and melt everything else into mush. Zoom into the corners of test images; that’s where quality differences hide.
- Prompt adherence vs. beauty: Some checkpoints are gorgeous but stubborn — they render their house style regardless of your prompt. For professional work, adherence matters more than default beauty. You want a checkpoint that listens.
- Consistency across seeds: Generate the same prompt five times. Good checkpoints produce five believable variations; unstable ones produce two keepers and three mutants.
How to choose (the method matters more than the model)
Specific model names churn monthly, so here’s the selection method that stays valid no matter what’s topping the charts:
- Define your realism target. Editorial fashion photography? Cinematic film stills? Casual smartphone snaps? Documentary-style? Different checkpoints specialize — the best “fashion editorial” model isn’t the best “candid street photo” model. Know your target before browsing.
- Check the model’s training disclosure. Reputable creators describe what the checkpoint was trained on and what it’s for. Vague descriptions (“ultra realistic v7 final FINAL”) correlate with mediocre results. Transparency is a quality signal.
- Run the standard test battery: close-up portrait, full body with hands visible, challenging lighting (backlit, neon), an older face (young faces are easy; age is the real test), and a non-person subject for generality. Compare the same prompts across 3-4 candidates side by side.
- Look at uncurated community outputs, not the creator’s showcase images. Showcase images are the model’s highlight reel — cherry-picked seeds and settings. Community feeds show the batting average, which is what you’ll actually get.
- Check the license. Some checkpoints restrict commercial use. If you’re generating for clients, verify before you generate — “I didn’t read the license” doesn’t hold up.
- Check the base version compatibility with your UI and workflow — mismatched versions cause silent quality degradation that’s maddening to debug.
The supporting cast: it isn’t just the checkpoint
A great checkpoint with bad settings still produces bad images. The companions that matter: VAEs (the variational autoencoder affects color richness and fine detail — a mismatched VAE washes out even good checkpoints; many photorealism checkpoints ship with a recommended VAE, use it), LoRAs (small add-on trainings for specific styles, faces, film stocks, or concepts — the professional photorealism stack is checkpoint + detail-enhancing LoRAs, layered carefully), upscalers (dedicated upscaling models add the micro-detail that sells realism at large sizes — generate at moderate resolution, upscale with a detail-focused model), samplers and settings (steps, CFG scale, denoise strength — the boring knobs that separate clean output from artifacts; photorealism typically wants moderate CFG, not cranked), and negative prompts (the well-maintained quality negative prompts — “bad anatomy, watermark, oversaturated” families — remain load-bearing).
Common mistakes beginners make
- Checkpoint hopping: downloading twenty checkpoints and mastering none. Pick two, learn them deeply — settings, strengths, quirks. Depth beats breadth.
- Ignoring the prompt: even the best checkpoint needs good prompting — photographic terminology (85mm, f/1.8, rim lighting, Kodak Portra) speaks its language far better than “make it look real.”
- Overcooking: too many steps, too high CFG, too many LoRAs stacked — the image gets crunchy and artificial. Restraint reads as realism.
- Judging at thumbnail size: always evaluate at full resolution. Thumbnails lie; artifacts hide at small sizes and ambush you in print.
Ethics: the part you can’t skip
Photorealistic generation of real people without consent is a serious harm vector — non-consensual imagery, fraud, disinformation. The technology is dual-use and community norms matter: don’t generate identifiable real people, don’t create deceptive “photographs” of events that didn’t happen, and label AI-generated photorealistic images when sharing publicly. Capability without conscience is how useful tools get regulated into uselessness — and this corner of the technology is already under scrutiny.
Putting it to work
Once you’ve picked your checkpoint and dialed in the supporting stack, the professional applications are real: AI for architectural visualization leans on photorealistic rendering pipelines, AI for interior design mockups needs believable spaces, and product mockup work lives or dies on material realism. If you’d rather skip the local setup entirely, you can use DALL-E for free for quick photorealistic experiments — less control, zero setup. The local checkpoint route rewards the effort with unlimited, private, precisely-controlled generation. Pick your trade-off, run the test battery, and start generating.