
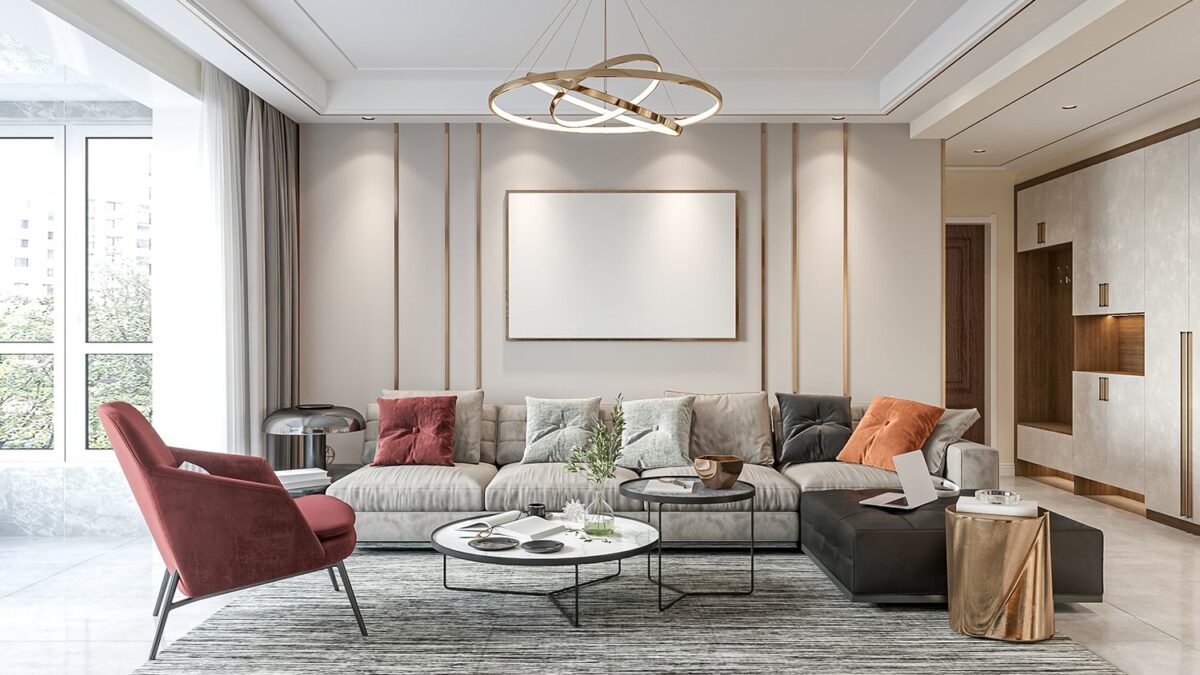
Learning how to visualize room redesigns with AI image tools has transformed interior design from a imagination-heavy gamble into a see-it-before-you-buy-it process. Redecorating used to mean committing thousands of dollars based on fabric swatches and hope. Now you can generate photorealistic previews of your redesigned room in minutes, iterate through styles endlessly, and walk into purchases with confidence. Here’s how homeowners, renters, and designers are doing it.
Why AI Room Visualization Works So Well
Interior design is an ideal AI use case: it’s visual, iterative, style-driven, and low-stakes to preview (unlike, say, surgery). The technology excels because rooms have strong structural priors — walls, floors, furniture arrangements follow predictable patterns the models learned thoroughly. And the value proposition is enormous: avoiding one wrong $2,000 sofa purchase pays for a lifetime of AI visualization.
How to Visualize Room Redesigns With AI Image Tools: The Workflows
Workflow 1: Photo-to-redesign (most practical)
Start with a photo of your actual room:
- Photograph your room in good daylight, straight-on angles, decluttered but realistic. Multiple angles help.
- Use image-to-image AI with a prompt describing the redesign: “same room layout, Scandinavian minimalist style, light oak floors, white walls, linen sofa in sage green, jute rug, abundant plants.”
- Control the transformation strength: lower denoise preserves your room’s structure (same windows, same layout); higher denoise allows more dramatic restyling. For realistic planning, stay on the preservation side.
- Iterate on styles: same photo, different prompts — “industrial loft style,” “Japandi minimalism,” “cozy farmhouse.” Compare side by side.
- Refine details with inpainting (our guide: inpainting): change just the sofa, just the wall color, just the lighting.
Workflow 2: Text-to-room (for blank slates)
Starting from empty or working with a new space? Generate from description: room dimensions, style, key pieces, color palette, lighting. Less accurate to your specific space, but excellent for exploring directions before committing. Useful for new builds, rentals you haven’t moved into, or pure inspiration.
Workflow 3: Dedicated interior AI apps
Purpose-built room design apps streamline the process: upload photo, pick style, get redesign. Less flexible than general AI tools but far easier — no prompting skill required. Good for homeowners who want results without learning image-generation workflows. The tradeoff is control: dedicated apps offer presets where general tools offer infinite customization.
Prompting Rooms Effectively
Interior prompts need specific elements:
- Style descriptors: “Scandinavian,” “mid-century modern,” “industrial,” “bohemian,” “Japandi,” “Art Deco” — style words the model understands deeply.
- Materials: “walnut wood,” “brushed brass,” “linen upholstery,” “polished concrete” — materials define the feel.
- Color palette: specify 2–3 colors: “warm neutrals with terracotta accents.” Restrained palettes photograph better and are easier to actually implement.
- Lighting: “soft natural daylight,” “warm evening ambient” — lighting makes or breaks realism. Our photorealism techniques (photorealistic prompting) apply directly.
- Keep structural elements: “maintain existing window placement and room proportions” — critical for photo-to-redesign accuracy.
From Visualization to Reality: Bridging the Gap
Pretty AI renders are useless if you can’t implement them. Bridge the gap:
- Identify actual products. Use the AI image as a target, then find real furniture/decor matching it. Reverse image search on furniture pieces; many retailers now offer visual search.
- Extract the palette. Pull exact colors from your favorite render for paint matching — paint stores can match any color sample.
- Respect your constraints. AI doesn’t know your budget, your room’s actual dimensions, or that wall is load-bearing. Apply reality filters: measure everything, price the key pieces, and adjust.
- Phase the project. Use multiple renders to plan phases: paint and lighting first (biggest impact, lowest cost), furniture second, accessories last.
- Test with samples. AI colors shift on screens. Get physical swatches of paint, fabric, and materials before committing.
For Design Professionals
Interior designers are using AI visualization to transform client work: instant concept presentations (no more “imagine if…”), unlimited style explorations in client meetings, and faster approvals. The ethical framework in our guide to AI images in client work applies — disclose AI use, and be clear that renders are concepts, not guarantees. The designers thriving are those who pair AI speed with professional judgment about what actually works in physical spaces.
Limitations to Know
- Scale and proportion drift. AI doesn’t truly understand your room’s dimensions. Furniture may render at subtly wrong scales. Always verify with measurements.
- Impossible suggestions. AI might remove a structural wall, add windows that don’t exist, or suggest layouts violating building codes. Apply architectural reality.
- Product specificity. AI generates plausible furniture, not actual purchasable items. The “perfect sofa” in your render may not exist — find the closest real equivalent.
- Lighting optimism. AI renders ideal lighting; your north-facing room won’t match. Factor in your actual light conditions.
For more background, see Wikipedia’s generative AI overview.
The Takeaway
AI room visualization turns redecorating from a leap of faith into an iterative design process: photograph your space, generate style variations, refine with inpainting, then bridge to reality with measurements, samples, and real products. You’ll make better decisions, avoid expensive mistakes, and — not incidentally — have a lot of fun exploring what your space could become. The best room redesign is the one you’ve already seen.