
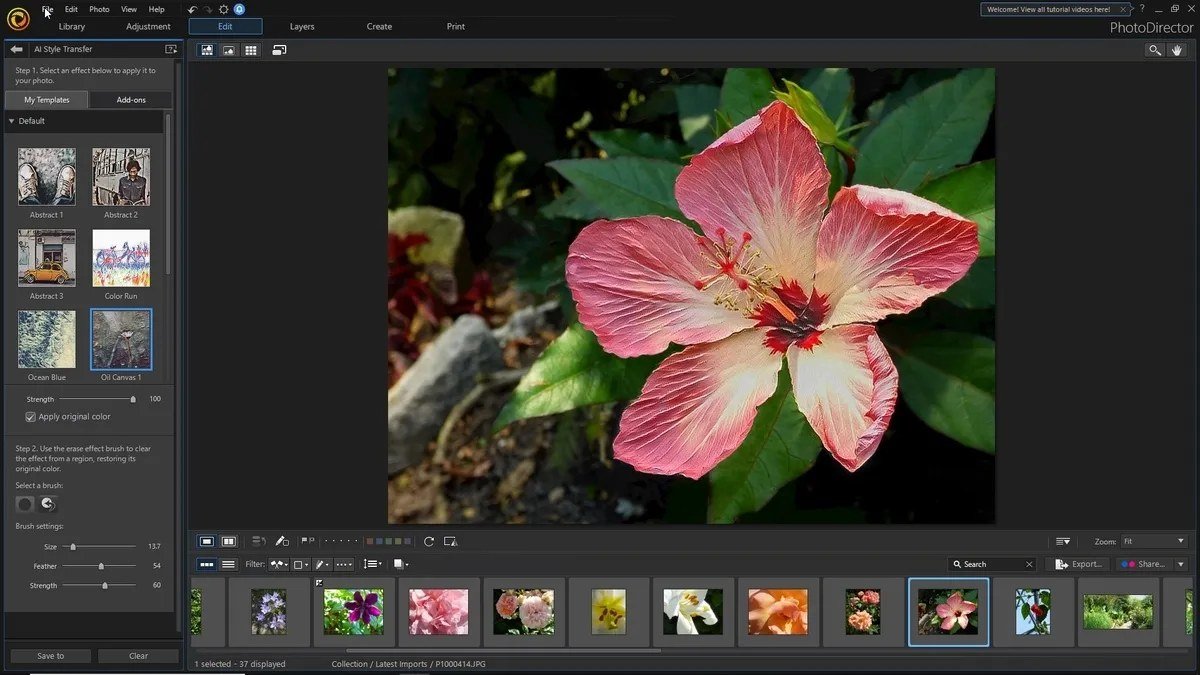
Learning how to do inpainting to fix parts of an AI image is the skill that separates casual AI art dabblers from people who produce polished, professional work. Generated a near-perfect image with one flaw — deformed hands, a garbled sign, an unwanted object, a weird background element? Inpainting lets you regenerate just that region while keeping everything else intact. It’s the single most useful post-generation technique in AI art, and it’s easier than it sounds.
What Inpainting Actually Is
Inpainting masks a region of an image and regenerates only that region, guided by your prompt, while the unmasked areas stay pixel-identical. The AI fills the masked area with content matching both your description and the surrounding context — lighting, style, perspective. Think of it as targeted regeneration: instead of rolling the dice on an entirely new image because one hand looks wrong, you re-roll just the hand.
This works because diffusion models are excellent at contextual fill — given surrounding pixels and a text description, they generate coherent content for the gap. It’s the same technology behind object removal in photo editors, applied to AI generations.
How to Do Inpainting to Fix Parts of an AI Image: The Workflow
Step 1: Identify what needs fixing
Zoom to 100% and catalog the flaws: deformed hands (our dedicated guide: fixing deformed AI hands), garbled text, unwanted objects, background weirdness, anatomical errors. Prioritize — fix the most visible flaws first, since each inpainting pass is quick.
Step 2: Mask generously
Paint the mask over the problem area plus margin — include surrounding context, not just the flaw itself. Tight masks produce visible seams because the AI has no room to blend. A good rule: mask 20–30% beyond the visible problem in every direction. For a bad hand, mask the hand, wrist, and some surrounding background.
Step 3: Prompt the replacement
Describe what should be there, specifically: “realistic human hand, relaxed natural pose, five fingers, correct anatomy” — not just “hand.” Include context matchers: lighting direction, style descriptors matching the original generation, relevant colors. Add negative prompts for the flaw you’re fixing: “deformed, extra fingers, mutated, blurry.”
Step 4: Tune the settings
- Mask blur/feathering: softens mask edges for seamless blending. Essential — hard edges scream “edited.”
- Denoise strength: controls how much the AI changes the masked area. Higher (0.7–1.0) for complete replacement; lower (0.4–0.6) for subtle fixes preserving underlying structure.
- Masked content setting: “fill,” “original,” or “latent noise” — experiment; different flaws respond to different starting points.
- Seed control: keep the original seed for consistency, or randomize for variety across attempts.
Step 5: Iterate and blend
Expect 3–8 attempts for tricky fixes. Each takes seconds. When you get a good result, check the seams at 100% zoom — a light healing-brush pass or slight blur on the mask boundary finishes the job invisibly.
Common Inpainting Use Cases
- Fixing hands and anatomy: the #1 use case. Mask generously, prompt specifically, iterate.
- Removing unwanted objects: mask the object, prompt the background that should replace it (“empty street,” “clear sky”). Simpler than fixing — the AI just extends the background.
- Fixing garbled text: mask the text region, prompt clean background or correct short text. (For important text, our guide to readable AI text recommends compositing real typography instead.)
- Changing details: different clothing, different expression, different object in hand — inpainting as targeted editing, not just repair.
- Background cleanup: remove photobombers, fix weird background elements, simplify cluttered areas.
- Extending or adjusting composition: combined with outpainting (our guide: outpainting) for reframing images.
Inpainting in Different Tools
- Stable Diffusion WebUI: the most powerful inpainting — full mask control, all settings adjustable, free and local. The img2img inpainting tab is where professionals work.
- Midjourney: editor features allow region-based editing with more constraints than SD but good integration with the generation workflow.
- DALL-E: built-in inpainting via the editor — mask with brush, prompt the change. Simple and effective for moderate fixes.
- Photoshop Generative Fill: Adobe’s implementation — superb blending with existing Photoshop workflows, ideal for designers already in the Adobe ecosystem.
- Mobile apps: various apps offer simplified inpainting — fine for quick social-media fixes, inadequate for professional work.
Advanced Tips
- Inpaint at higher resolution than the original if possible — more pixels in the masked region means better detail in the fix.
- Match the original generation’s seed and settings where the tool allows; consistency in the unmasked areas depends on it.
- Fix big to small: address large structural issues before fine details. Don’t perfect a finger on a hand you’ll regenerate anyway.
- Know when to regenerate fully. If more than ~30% of the image needs inpainting, a fresh generation is usually faster and more coherent.
- Save masks for recurring fix patterns — consistent issues (like a series with the same hand problem) benefit from reusable approaches.
For more background, see Wikipedia’s Stable Diffusion article.
The Takeaway
Inpainting transforms AI image generation from a lottery into a craft: generate freely, then surgically fix what needs fixing. Mask generously, prompt specifically, feather your edges, and iterate without mercy — each attempt costs seconds. Master this one technique and your keeper rate will triple, because no good image needs to die over one bad hand again.


1 Comment