
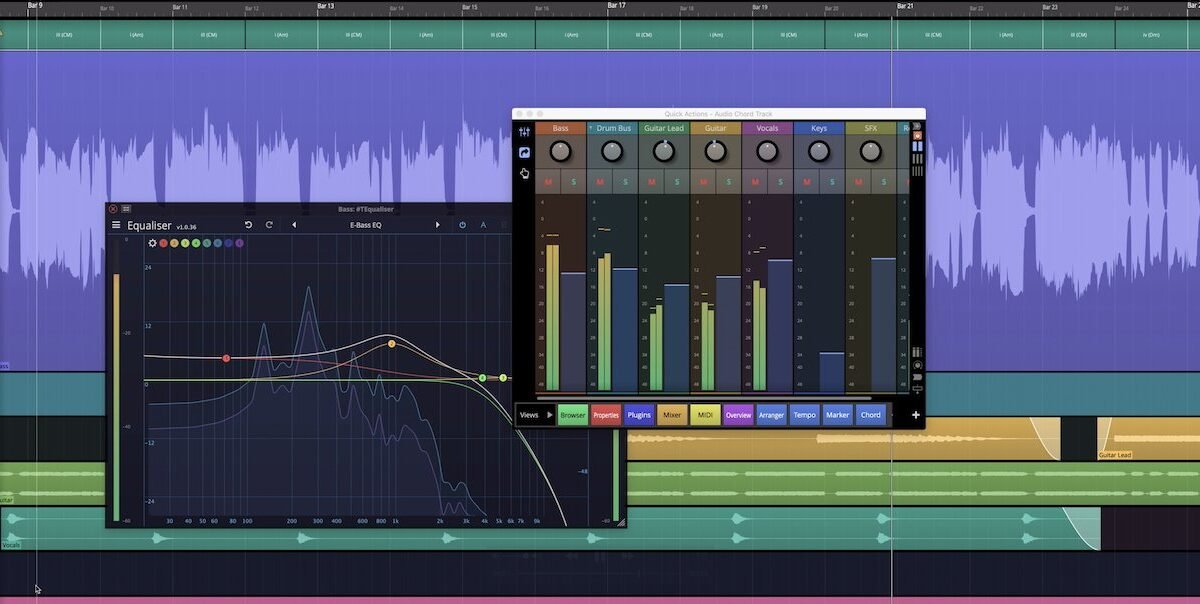
Bad audio kills good content faster than bad video ever will. Learning how to improve audio quality with AI enhancement rescues recordings you thought were unusable — and polishes decent ones into professional ones.
How to Improve Audio Quality with AI Enhancement
- Background noise: traffic, AC hum, crowd murmur — modern AI (Adobe Enhance, Krisp, Descript) removes noise while preserving voice naturalness, far beyond old noise gates.
- Room echo/reverb: the “recorded in a bathroom” problem. AI dereverberation is genuinely impressive now.
- Muddy phone/mic audio: enhancement models reconstruct missing frequencies — turning thin phone audio into something full.
- Level inconsistencies: automatic leveling evens out quiet/loud passages transparently.
- Clicks, pops, and mouth sounds: de-clicking and de-plosive processing cleans the small stuff.
- Music/noise separation: isolate voice from background music (or vice versa) — useful for remixes and cleanup.
Best tools by job
- Adobe Podcast Enhance: free, web-based, astonishing on bad recordings. The first tool to try on rescue jobs.
- Descript / Riverside: built-in enhancement in editing workflows — convenient for podcasters.
- iZotope RX: the professional standard — surgical tools for every audio problem, AI-assisted. Worth learning for serious work.
- Krisp / NVIDIA Broadcast: real-time enhancement for calls and streams.
- Auphonic: automated leveling, noise reduction, and loudness normalization for podcasts — set-and-forget post-production.
The enhancement workflow
- Diagnose before treating. Listen on headphones and list the problems in order of severity. Fix big problems first.
- One process at a time. Noise reduction → de-reverb → EQ → leveling → limiting. Stacking everything at once creates artifacts you can’t trace.
- Use less than you think. The #1 enhancement mistake is over-processing — that underwater, phasey sound. Back off until it sounds natural, then back off 10% more.
- A/B constantly. Bypass the processing regularly. If you can’t clearly hear improvement, you’re probably degrading.
- Enhance before mixing. Clean individual tracks first, then mix. Enhancing a full mix is damage control, not production.
What enhancement can’t fix
Clipping/distortion (information destroyed), extreme wind noise, two people talking simultaneously (mostly), and fundamentally bad performances. Also: enhancement can’t add what was never captured — a $20 mic in a noisy room enhanced is still a $20 mic in a noisy room, just a cleaner one. Record well first; enhance second.
AI enhancement for specific scenarios
Different recording situations need different enhancement approaches. Podcast interviews (remote): each guest’s audio differs wildly — enhance individually before mixing, match loudness and tone across guests, and don’t over-denoise (a little room tone keeps it human). Field recordings: wind and handling noise are the enemies — AI wind reduction has improved dramatically, but a $20 deadcat windshield prevents problems enhancement can’t fully fix. archival/historical audio: hiss, crackle, and distortion — iZotope RX’s specialized modules (de-crackle, de-hum) outperform general enhancers here; patience beats processing power.
Live streams: real-time enhancement (NVIDIA Broadcast, Krisp) trades quality for latency — acceptable for streams, not for recordings you’ll publish. Music demos: be conservative — enhancement that “cleans” demos often removes the character that made them compelling. When in doubt, enhance less.
Building an enhancement preset library
Stop starting from scratch: save presets per scenario (podcast guest, field interview, voiceover, archival) in your tools of choice. Document what each preset does and when to use it. Share presets with your team — consistency across episodes and producers matters. And iZotope’s learning resources for RX are the best free education in audio restoration available — even if you primarily use simpler tools, understanding the principles makes you better at all of them.
Your audio enhancement toolkit: assemble it now
Don’t scramble when bad audio lands on your desk — assemble the toolkit in advance. Essential: Adobe Podcast Enhance (bookmarked, free — your first resort for rescue jobs), your editor’s built-in tools (learned properly, not skimmed), and a loudness meter (Youlean or similar — free, essential for consistent output). Professional upgrade: iZotope RX Elements (affordable, covers 80% of pro needs) when you’re ready.
Learn the toolkit before you need it: run practice files through each tool, learn what the controls do, save your presets. When a client sends disaster audio with a deadline, you’ll reach for familiar tools with confidence instead of panicking through tutorials. Preparation is the difference between “I can fix this” and “I hope this works.” Assemble the kit this week; thank yourself on the next rescue job.
Practical takeaway
- AI enhancement fixes noise, echo, thin audio, and levels — impressively.
- Adobe Enhance for rescues; iZotope RX for pro work; Auphonic for podcast automation.
- Process one step at a time; under-process rather than over-process.
- A/B constantly — if you can’t hear improvement, stop.
- Can’t fix clipping or bad source quality — record well first.
Keep exploring
If you found this useful, these related guides go deeper: